Sitting down and writing your first blog post is quite intimidating. To do it you just have to begin. Sounds simple, right? Where it all begins for me is in my kitchen. My days always begin here with fresh coffee or tea and of course, the feeding of Kettu and Kilmousky, my ragdoll cats. When I need to regroup or refresh, the process also begins in the kitchen. When life or work seems a bit overwhelming, or the loose-ends are piling up, I retreat to the kitchen. I know that whatever I start there I will finish and the process is always creative. The creativity that begins in the kitchen carries me through, giving me the ability to pick up where I left off with renewed energy.
When the world started to unravel in mid-March guess where I retreated to. That’s right, my kitchen. And like so many other Canadians I decided it was time to learn how to make bread. It had always seemed a daunting task, one of those skills that unfortunately was not passed down to me. I learned to sew, to knit, and to crochet. I learned to pickle and preserve. Learning to cook in general was a mandate. But somehow the bread-making lesson was not part of my life-ready training.
Up to the challenge, I rolled up my sleeves, put my reservations aside, and dove in. I soon discovered that with homemade bread that even the failures are successes. After all, who doesn’t love homemade bread? A bit too dense? Slice it thinner, and toast it. Flavour not quite enough? There are always jams and jellies for that.
After a few loaves of toast, and several pots of jam, I have a recipe to share and I have my first blog post completed. I hope you enjoy and share both!
This is where creative begins for me. Where does it all begin for you?

Ingredients
- 1/2 cup warm water
- 1/4 teaspoon honey
- 2 teaspoons (1 package) active dry yeast
- 4 cups of multigrain flour
- small amount of all purpose flour for dusting.
- 3/4 tablespoon sea salt (table salt will do)
- 1 cup lukewarm water (approx. 35°C)
- 1 large egg
- 1-1/2 tablespoons Olive Oil
Instructions
- Mix honey into 1/2 cup warm water and stir until honey is dissolved. Stir in the yeast. Set aside to allow yeast to bloom. The mixture will start to foam. It is ready when the grains of yeast have all foamed up, about 5-8 minutes.
- In a large bowl, mix multigrain flour and salt together and make a small well in the middle. Pour the prepared (bloomed) yeast mixture into the well.
- Whisk egg and 1 cup lukewarm water together and add this mixture to the well in the flour mixture.
- Combine the wet and dry together using a wooden spoon or spatula. Once it is combined enough, begin using your hands to continue to combine until mixture pulls away from the side of the bowl. Wetting your hands prior to starting to mix will help to keep the dough from sticking. Once the dough comes together continue to knead for another 5 minutes. If you find the dough is too dry, add a bit of warm water and if you find it is too wet, sprinkle in a bit of flour. Once the dough is ready form into a nice ball and drizzle olive oil over top and pat it around to cover the dough.
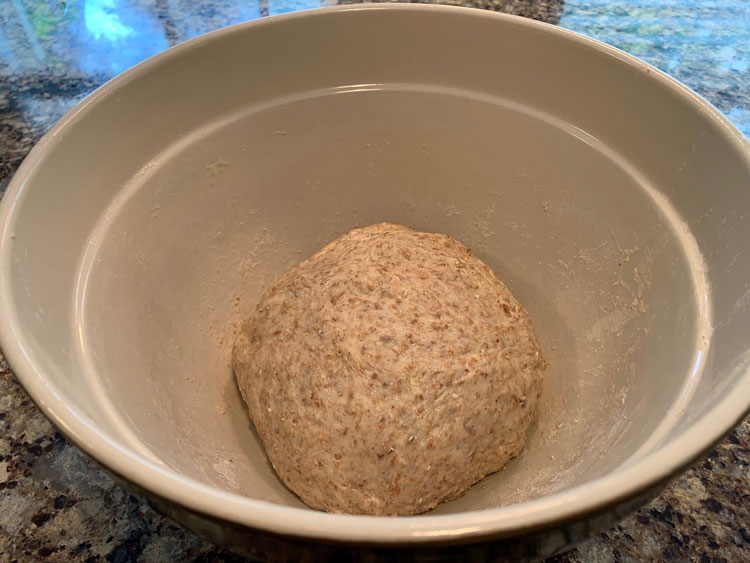
Dough prepped for first proofing.
- First Proofing: Cover the bowl with a large tea towel and let rise until double in size. This can take up to 2 hours depending on how warm the area is.
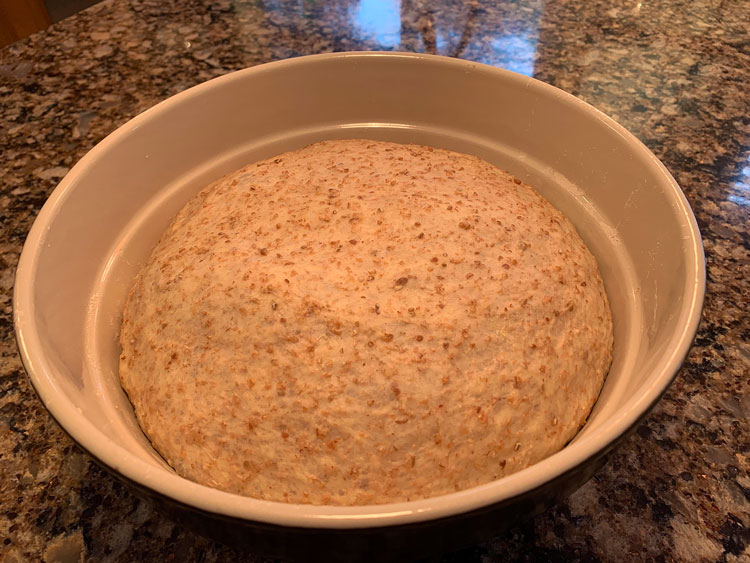
First proof complete.
- Remove the tea towel and gently poke the dough a couple of times with your finger. If the dough is proofed properly it should indent and slowly deflate.

Dough deflates when gently poked
- Using a spatula, slowly pull the dough away from the sides of the bowl toward the middle, turning the bowl until it is completely unstuck. Use your hands and continue to lightly knead the dough until it comes together. You can add a bit more flour if it is needed to bring the dough together.
- Cover once again and set aside to rise for another 2 hours, until doubled in size again.
- Second Proofing: Once the dough has risen again, remove the tea towel and turn the dough out onto a lightly floured surface (use all purpose flour to dust the surface). Sprinkle the do of the dough with all purpose flour and then begin to shape it. Fold the dough down, pulling the sides underneath, forming a ball and pinching together the seams that are formed underneath.
- Lightly grease a large clean bowl with olive oil and dust it with all purpose flour. Place your shaped dough into the prepped bowl seam-side down.
- Final Proofing: Cover and let rise 1 hour
- In the meantime, preheat your oven to 450°F (230°C), placing your Dutch Oven with lid on (6 or 5 quart size, round or oval) in right away to allow it to heat up with the oven
- Once the dough is ready, CAREFULLY remove your Dutch Oven from the oven and place on a trivet or heat-safe surface and CAREFULLY remove the lid. The Dutch Oven will be extremely hot so be very cautious!
- Gently tip out the proofed dough onto a lightly floured surface, and gently knead it into the shape to fit the Dutch Oven. Using a sharp knife score lines across the top of the dough (this is not necessary but creates an nice visual effect once baked).
- Carefully place your shaped dough into the Dutch Oven, replace the lid and return it to the oven.
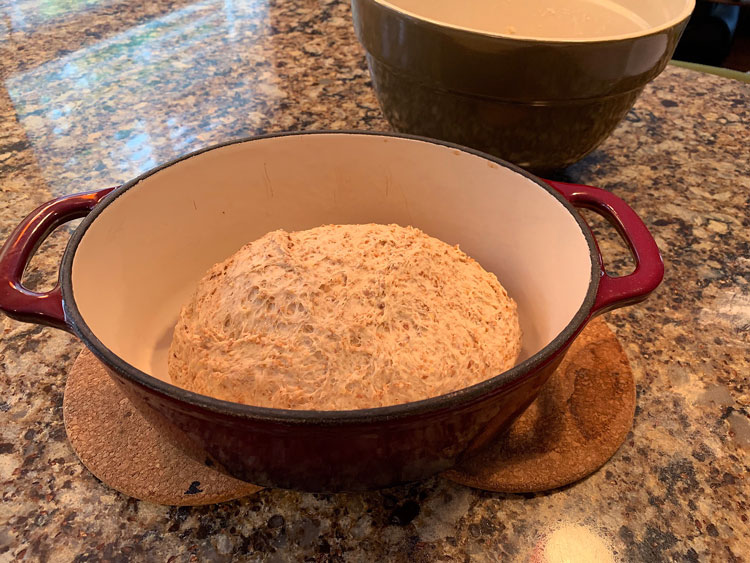
Shaped dough in Dutch Oven, ready to bake
- Bake with lid for 30 - 35 minutes, removing lid and baking uncovered for last 10 minutes.
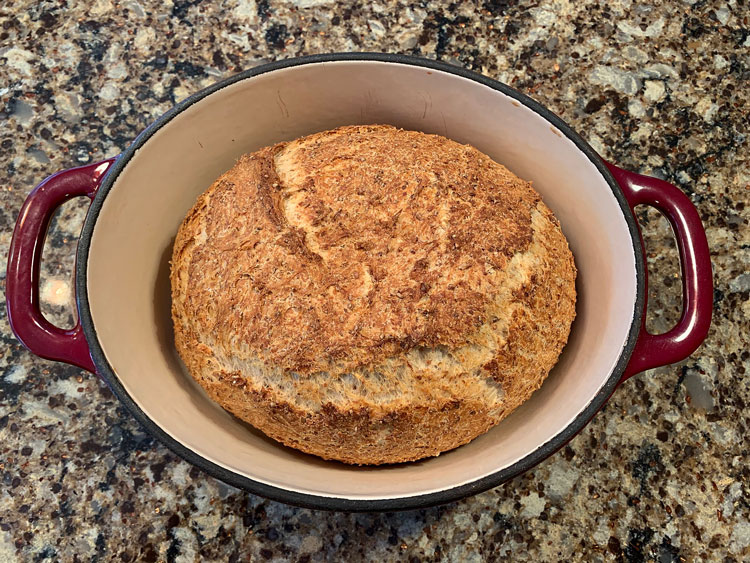
Baked and ready to cool
- Once finished, remove the loaf and wrap in a tea towel for 30 minutes to cool before slicing. If you slice the bread too soon, it will become moist and sticking inside.
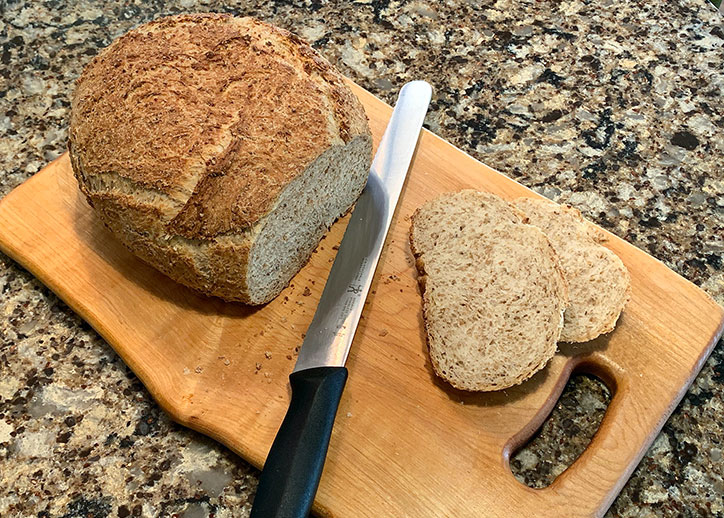
Pass the butter and jam please!
6 comments
Thanks so much for sharing. I will have to give this recipe a try and invite you over for bread, wine and cheese. Great blog post by the way!
Thanks My Friend! I am in!
Looks very delicious Liza. May have to share this recipe with my daughter as she is just loving all this baking!
Please share away Dawn! I love that people are getting back to basics!
Great recipe. Can’t wait to try it. Great blog. You rock!
Thank you so much Judy! Let me know how it turns out!